
You Should never do these thing when cleaning your home. We all love using natural hacks to keep our homes tidy, but sometimes even the best cleaning tips can go wrong if you aren’t careful. Using the wrong stuff on a delicate surface can actually cause more work in the long run. Whether you are deep cleaning your sink or your bathroom knowing what not to do is just as important as the cleaning itself. Avoiding a few common mistakes will save you a ton of stress and keep your home looking great without the extra hassle.
20 Shocking Things You Should Never Do When Cleaning Your Home
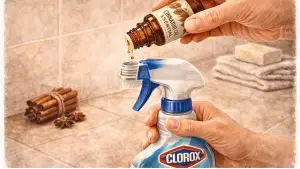
1. Mix Bleach with Ammonia or Vinegar
Never mix cleaning agents unless the label explicitly says it’s safe. Mixing bleach with ammonia creates toxic chloramine gas, and mixing it with vinegar creates chlorine gas. Both are extremely dangerous to inhale.
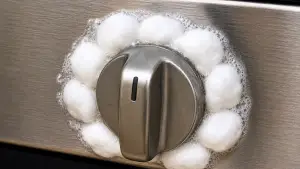
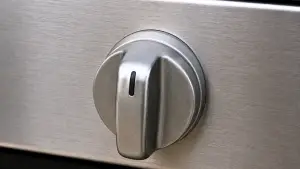
2. Use Abrasive Scrubbers on Stainless Steel
Using steel wool or harsh scouring pads can leave permanent scratches on appliances. Always use a microfiber cloth or a soft sponge, and wipe in the direction of the “grain” to keep your stainless steel sinks and fridges looking brand new.
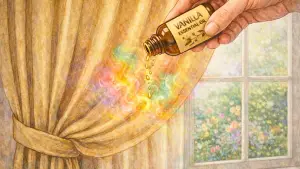
3. Wash Windows on a Sunny Day
Direct sunlight causes window cleaner to dry too quickly, leading to stubborn streaks. It is best to wait for a cloudy day or work when the windows are in the shade.
4. Spray Cleaners Directly onto Surfaces
Spraying liquid directly onto electronics, wood, or fabric can cause saturation and damage. Instead, spray your cloth first, then wipe the surface down.
5. Use Vinegar on Natural Stone
The acidity in vinegar (and lemon juice) can “etch” or eat away at the surface of marble, granite, and limestone, leaving dull spots that are difficult to repair.
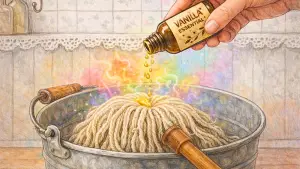
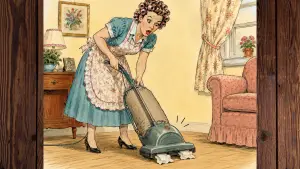
6. Forget to Clean Your Vacuum
A vacuum with a full bag or a dirty filter won’t pick up dust—it will just blow it back into the air. Regularly empty the canister and wash the filters to maintain suction.
7. Scrub Carpet Stains
If you spill something on the carpet, blot it. Scrubbing pushes the liquid deeper into the fibers and the padding, making the stain much harder to remove and potentially fraying the carpet.
8. Use the Same Rag for the Whole House
Using one cloth to clean the bathroom and then the kitchen is a recipe for cross-contamination. Use color-coded microfiber cloths for different zones to keep bacteria contained.
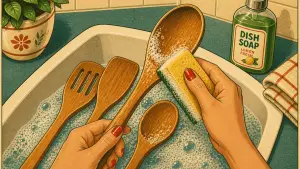
9. Put Wooden Spoons or Boards in the Dishwasher
The high heat and intense water pressure of a dishwasher will cause wood to warp, crack, and eventually split. Always hand-wash wooden items to preserve their longevity.
10. Dust with a Dry Cloth
A dry cloth or a feather duster often just moves dust around or sends it airborne. Use a damp microfiber cloth or an electrostatic duster to actually trap and remove the particles.
11. Use Fabric Softener on Towels
Over time, fabric softener leaves a waxy coating on fibers. While it makes towels feel soft, it significantly reduces their ability to absorb water.
12. Ignore High-Touch Points
Focusing only on floors and counters leaves behind germs on light switches, doorknobs, and remote controls. These areas should be wiped down frequently.
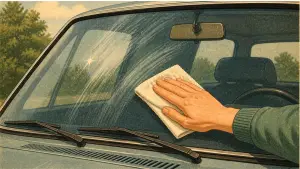
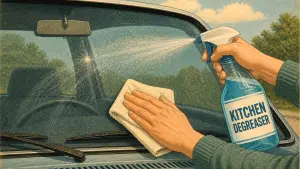
13. Use Dish Soap on Your Car
Dish soap is designed to strip grease off pans, which means it will also strip the protective wax coating off your car’s paint, leaving it vulnerable to the elements.
14. Clean from the Floor Up
Always clean from the top down. Dust and debris fall as you clean; if you vacuum first and then dust the ceiling fans, you’ll have to vacuum all over again.
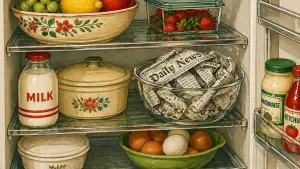
15. Leave a Wet Toilet Brush in the Holder
Placing a wet brush back into its stand creates a breeding ground for bacteria in the standing water. Let the brush drip-dry over the toilet bowl by balancing it under the seat before putting it away.
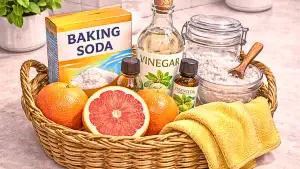
16. Using Undiluted Vinegar on Grout
While vinegar is a staple for natural cleaning, its high acidity can slowly dissolve the cement-based grout between your tiles if used at full strength too often. Over time, this leads to crumbling and moisture damage. Always dilute it with water or stick to a pH-neutral cleaner for tiled areas.
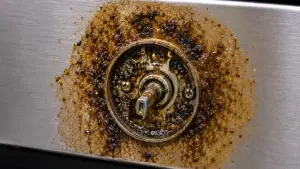
17. Neglecting Your Dishwasher Filter
If your dishes are coming out with a gritty residue, a clogged filter is usually the culprit. Most modern dishwashers have a removable cylindrical filter at the bottom that traps food particles. Rinse it under hot water once a month to prevent odors and ensure your kitchen organization stays hygienic.
18. Cleaning Windows with Paper Towels
It’s a common habit, but paper towels often leave behind lint and can actually move dirt around rather than lifting it. For a streak-free finish, use a clean microfiber cloth or even a piece of old newspaper, which is surprisingly effective at absorbing liquid without leaving residue.
19. Using Hot Water on Blood Stains
When it comes to laundry room mishaps, heat is the enemy of protein-based stains like blood. Using hot water will actually “cook” the protein into the fabric fibers, setting the stain permanently. Always use cold water and a bit of salt or hydrogen peroxide to lift the spot before washing.
20. Overloading Your Washing Machine
It’s tempting to shove one last load in to finish your Sunday reset faster, but an overstuffed machine prevents clothes from moving freely. This means the detergent can’t circulate properly, and your clothes won’t get truly clean. Plus, it puts a massive strain on the machine’s motor and suspension.
Conclusion
Getting your weekly cleaning done shouldn’t feel like a chore, especially when you have the right hacks in your back pocket. By skipping these 20 cleaning mistakes, you can make sure your natural cleaning actually works without accidentally ruining your favorite surfaces. At the end of the day, a clean home is all about making smart choices that save you time. Use these tips during your next deep clean to keep everything sparkling without any of the extra stress.


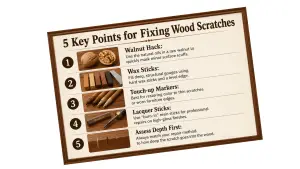 This simple step-by step guide will show show you how to fix minor scratches on your wooden cabinets at a low cost. So, if you like small home projects this article is for you. The steps are broken down so anyone can follow. Let’s get into it.
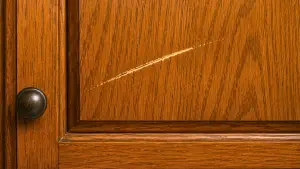
")


")