
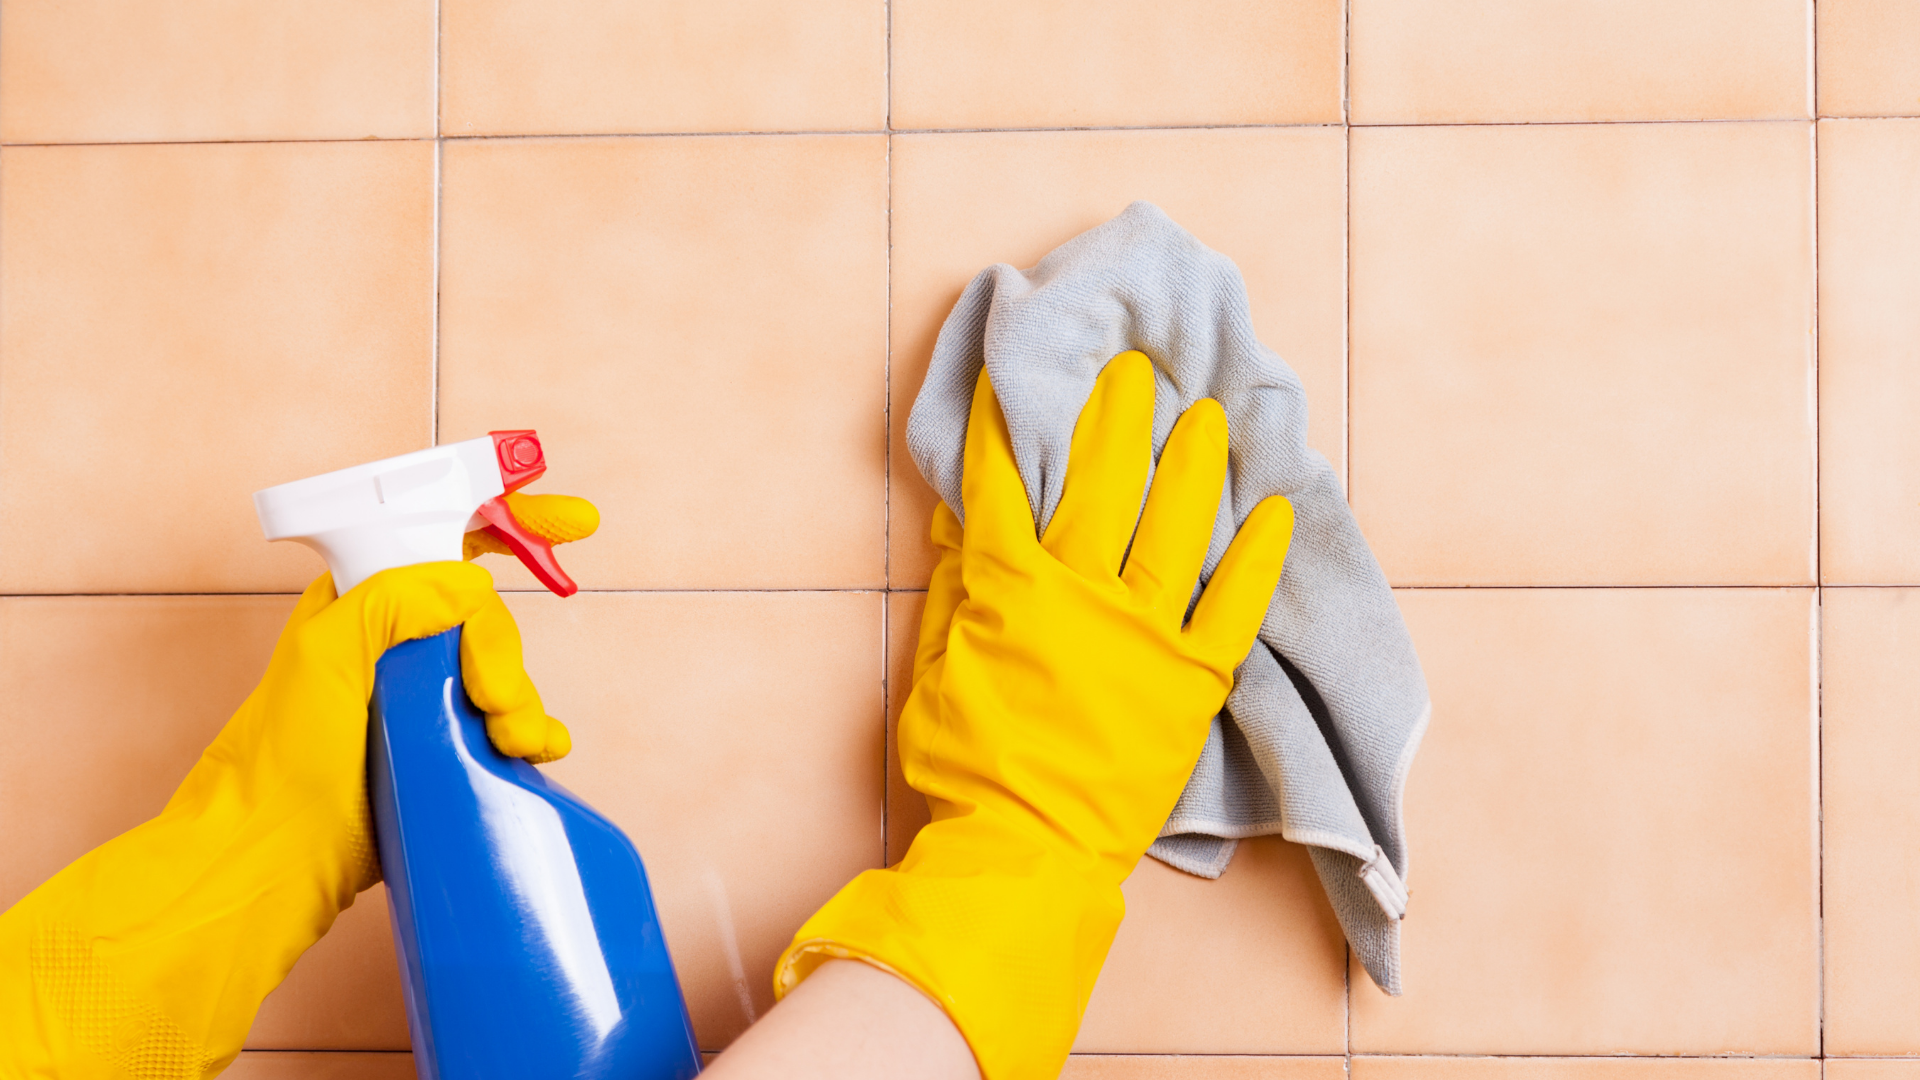
 Grout is a porous cement-based or epoxy compound used to fill the joints between your tiles. Over time, it acts like a sponge — absorbing dirt, spills, oils, soap scum, mold spores, and mildew. Because grout is lighter in color, discoloration is much more visible than on the tile itself. Regular cleaning and care not only preserve the look of your tiled surfaces but also prevent mold growth and discoloration. In high-moisture areas (like showers or bathrooms), neglecting grout cleaning can even lead to deterioration or leaks behind tiles.
Why Tile Grout Gets Dirty So Fast
Tile grout might seem like a small detail, but it makes a huge difference in how clean your home looks. Grout is a porous filler that locks your tiles in place.
Over time, it absorbs moisture, dirt, soap scum, and oils, causing it to darken or grow mold — especially in bathrooms and kitchens.
The good news? You don’t need fancy products or professional help to bring grout back to life. A few everyday household ingredients can make your grout look brand-new again.
Before You Start: Safety Tips and What You’ll Need
Always test first
If you’re using vinegar or bleach, test a small hidden spot — some tile types (like marble or travertine) can be etched by acid.
Basic supplies
-
Old toothbrush or grout brush
-
Spray bottle
-
Microfiber cloth or sponge
-
Warm water
-
Rubber gloves
-
Baking soda, vinegar, dish soap, or hydrogen peroxide
Quick safety reminders
-
Never mix vinegar and bleach — it releases toxic fumes.
-
Work in a ventilated area.
1. The Best DIY Grout Cleaning Solutions
Here are four tried-and-true methods you can use based on what you have at home.
A. Vinegar and Baking Soda Method
Perfect for mild dirt and everyday maintenance.
How to do it:
-
Sprinkle baking soda along the grout lines.
-
Fill a spray bottle with equal parts white vinegar and water.
-
Spray the vinegar over the baking soda — it will fizz and bubble.
-
Let it sit for 5–10 minutes.
-
Scrub with a stiff brush or toothbrush.
-
Rinse with warm water and wipe dry.
Tip: Avoid vinegar if you have natural stone tiles. Substitute with mild dish soap instead.
B. Dawn Dish Soap and Warm Water
Gentle and safe for most tile types.
Steps:
-
Mix 1 teaspoon of dish soap in 2 cups of warm water.
-
Spray or pour the mixture directly onto grout lines.
-
Scrub in circular motions using a soft brush.
-
Rinse and buff with a dry cloth.
Why it works: Dish soap cuts grease and grime without damaging your tiles.
C. Hydrogen Peroxide and Baking Soda Paste
Best for stained or discolored grout.
Steps:
-
Mix 2 parts baking soda with 1 part hydrogen peroxide to form a paste.
-
Apply to grout lines with a small brush.
-
Let sit for 10–15 minutes.
-
Scrub gently, then rinse with warm water.
Pro tip: This combo naturally whitens grout and disinfects without bleach.
D. Commercial Grout Cleaner
If DIY fails, try a store-bought grout cleaner or oxygen bleach powder (like OxiClean).
Directions:
-
Follow the manufacturer’s instructions carefully.
-
Apply the product evenly and allow it to dwell.
-
Scrub and rinse thoroughly.
Choose pH-neutral cleaners for regular maintenance and oxygen bleach for deep stains.
2. Deep Cleaning for Mold or Mildew
When grout turns black or smells musty, it’s likely mold or mildew.
Try this targeted cleaning method:
-
Mix ½ cup hydrogen peroxide, 1 cup water, and 1 teaspoon of baking soda in a spray bottle.
-
Spray heavily on affected grout lines.
-
Let it soak for 15–20 minutes.
-
Scrub with a stiff brush.
-
Rinse and dry completely.
If the mold persists, use diluted bleach (1 part bleach to 10 parts water) — but only on non-stone surfaces.
3. How to Whiten and Restore Old Grout
For grout that looks permanently dark or yellowed:
-
Use a grout whitening pen for small areas.
-
Reapply grout colorant or sealer to even out the tone.
-
If grout is cracked or crumbling, scrape and regrout the area.
4. Seal Your Grout for Long-Lasting Protection
Sealing grout prevents future stains and makes cleaning easier.
How to apply sealer:
-
Wait at least 24–48 hours after cleaning (grout must be completely dry).
-
Apply a penetrating grout sealer using a small brush or roller bottle.
-
Wipe excess off the tiles immediately.
-
Let dry and cure per product instructions (usually 24 hours).
🛡️ Reapply every 6–12 months for best results, especially in bathrooms and kitchens.
5. Maintenance Tips to Keep Grout Looking New
-
Wipe tile and grout dry after every shower to prevent mildew.
-
Mop with warm water and mild detergent once a week.
-
Avoid harsh acids or abrasive powders that wear down grout.
-
Use rugs or mats in high-traffic areas.
-
Re-seal grout yearly.
6. Troubleshooting Common Problems
🪨 Grout looks patchy: Some areas absorbed more cleaner — reapply for even results.
🌫️ Grout haze on tile: Buff tiles with a clean microfiber cloth and water.
⚫ Black spots keep returning: Use a mold-resistant sealer or check for leaks behind tiles.
⚒️ Grout crumbling: It’s time to remove and replace the damaged section.
When to Call a Professional
If you’ve cleaned repeatedly and stains remain — or you see cracking, soft grout, or moisture behind tiles — call a professional tile and grout cleaner. They can steam clean, regrout, or reseal for lasting results.
Conclusion
Tile grout might be small, but keeping it clean makes your entire space shine. Whether you choose vinegar and baking soda, dish soap, or hydrogen peroxide, consistency is key. A few minutes of scrubbing every month will save you from hours of deep cleaning later.
Your grout doesn’t have to look old — a little care keeps it bright, strong, and beautiful.


Comments are closed.